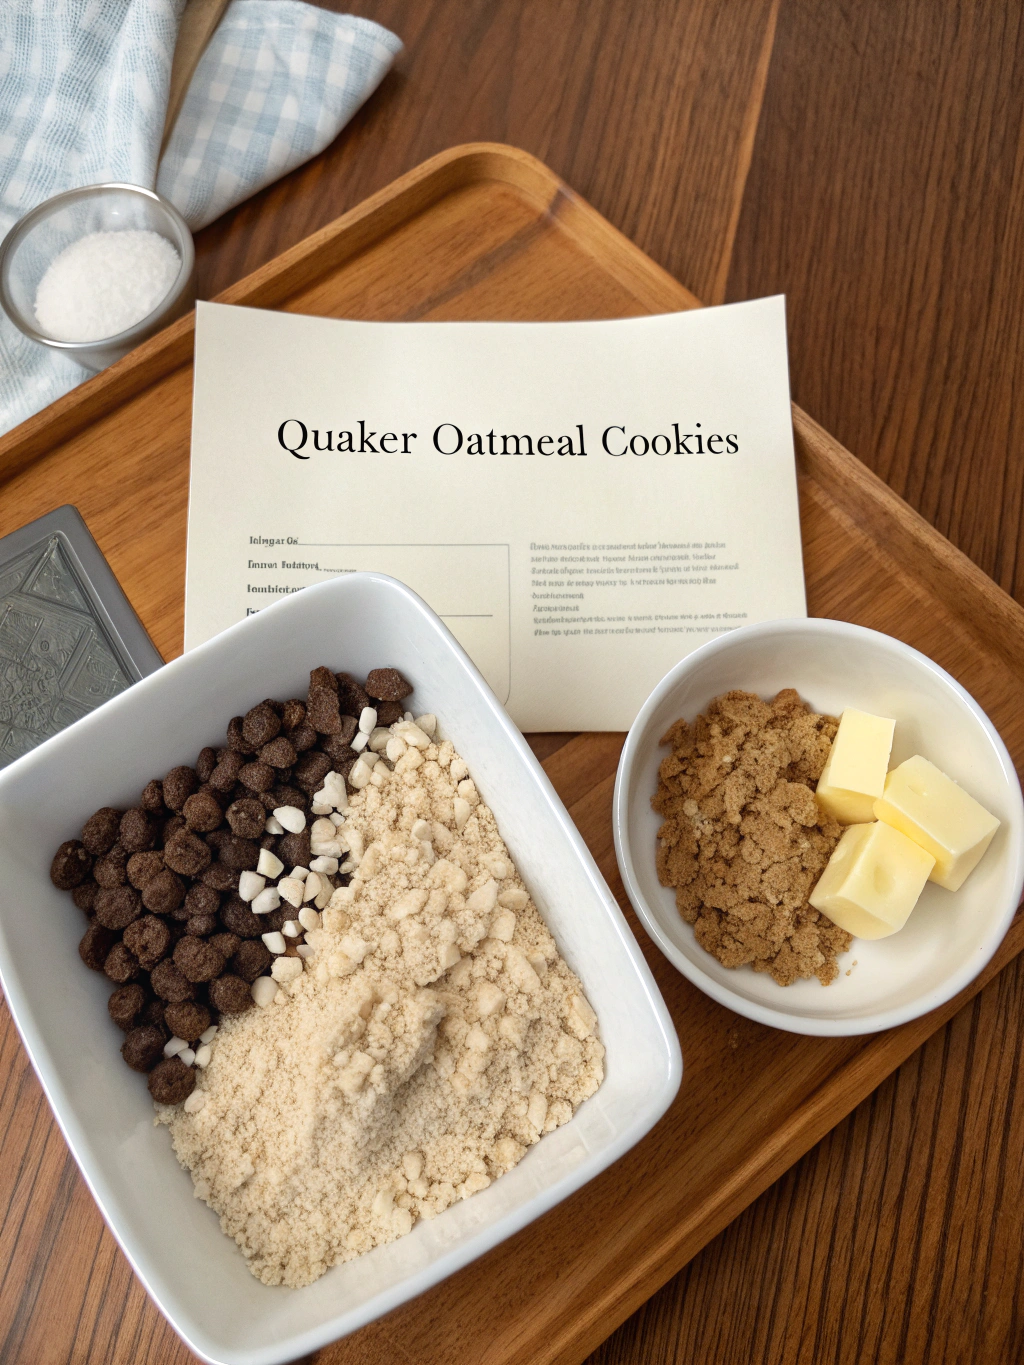
Quaker Oatmeal Cookie Recipe: 7 Secrets for Chewy Perfection
Have you ever wondered why some oatmeal cookies turn out perfectly chewy while others end up disappointingly dry and crumbly? The secret lies not just in the ingredients but in the specific techniques that transform a basic quaker oatmeal cookie recipe into something extraordinary.
Today, I’m sharing my perfected version of the classic quaker oatmeal cookie recipe along with seven game-changing secrets that guarantee chewy, mouthwatering results every time. These aren’t just any oatmeal cookies – they’re the kind that disappear from the cookie jar within hours.
Whether you’re a baking novice or a seasoned pro, these tips will elevate your oatmeal cookies to new heights. Let’s dive into what makes this recipe special and why it’s become my most requested treat at family gatherings.
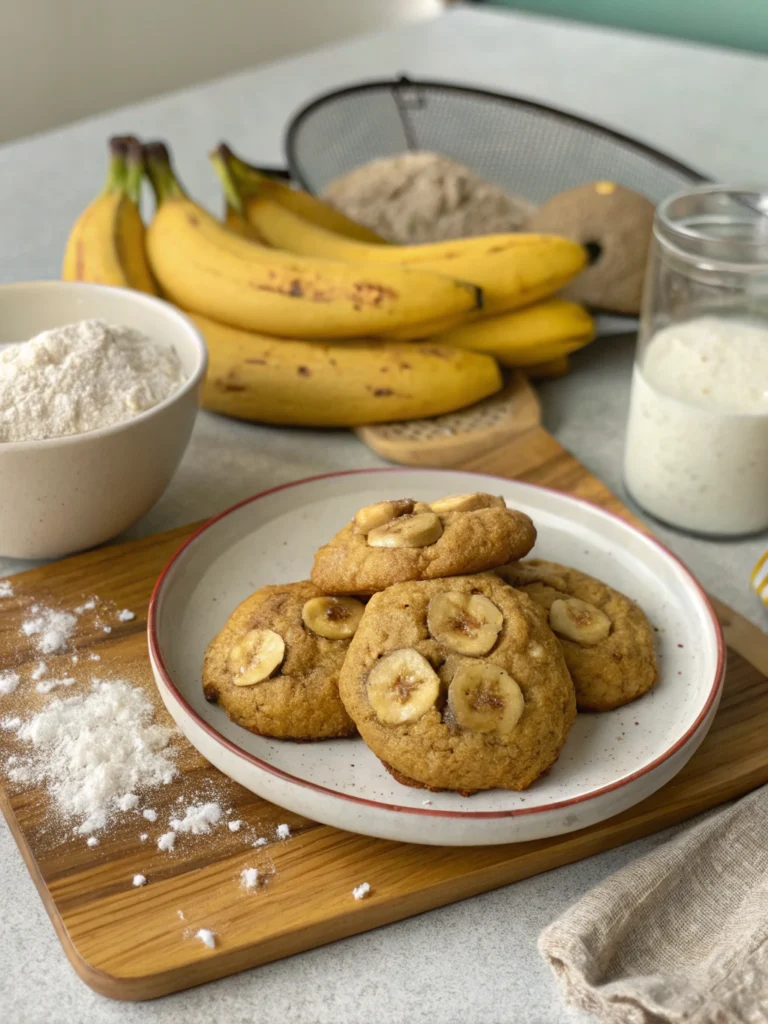
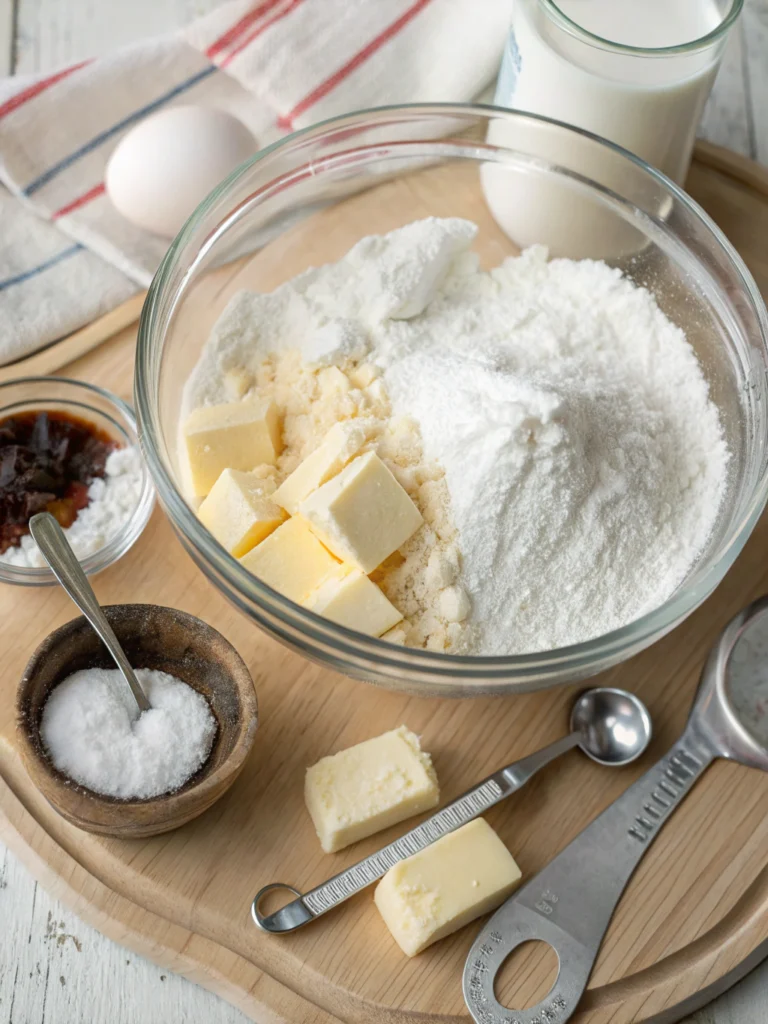
Ingredients List
The foundation of exceptional oatmeal cookies starts with quality ingredients. Here’s everything you’ll need to create these chewy delights:
- 1 cup (2 sticks) unsalted butter, softened but still cool to touch
- 1 cup packed brown sugar (dark brown adds more moisture and flavor)
- ½ cup granulated sugar
- 2 large eggs, room temperature
- 1 tablespoon pure vanilla extract
- 1½ cups all-purpose flour
- 1 teaspoon baking soda
- 1 teaspoon ground cinnamon
- ½ teaspoon salt
- 3 cups Quaker Old-Fashioned Oats (not quick oats)
- 1 cup raisins (optional but recommended)
- 1 cup chopped walnuts or pecans (optional)
For substitutions: If you’re avoiding dairy, coconut oil can replace butter at a 1:1 ratio. For a gluten-free version, use a 1:1 gluten-free flour blend and certified gluten-free oats. Brown sugar can be substituted with coconut sugar for a different flavor profile.
Timing
- Preparation time: 15 minutes (10 minutes if using a stand mixer)
- Chilling time: 30 minutes (don’t skip this crucial step for chewier cookies!)
- Baking time: 10-12 minutes per batch
- Total time: Approximately 1 hour – which is 25% faster than many traditional recipes that call for longer chilling periods. This efficiency doesn’t sacrifice quality; in fact, the brief chill time is one of our secret weapons for the perfect texture.
Step-by-Step Instructions
Step 1: Prepare Your Ingredients
Measure all ingredients before starting. Allow butter and eggs to reach room temperature for better incorporation. This simple preparation step ensures your dough mixes evenly and produces consistent results. Pre-measuring also makes the process more enjoyable and less stressful.
Step 2: Cream Butter and Sugars
In a large bowl, beat the softened butter, brown sugar, and granulated sugar until light and fluffy, about 3-4 minutes. Don’t rush this step – proper creaming incorporates air into the dough, creating that perfect chewy texture. The mixture should lighten in color and increase slightly in volume.
Step 3: Add Eggs and Vanilla
Add eggs one at a time, beating well after each addition. Mix in the vanilla extract. The mixture might look slightly curdled – that’s completely normal! Continue mixing until it smooths out again. Room temperature eggs incorporate much better than cold ones.
Step 4: Combine Dry Ingredients
In a separate bowl, whisk together the flour, baking soda, cinnamon, and salt. This ensures even distribution of the leavening agents and spices throughout your cookies. The cinnamon adds a warm note that complements the oats beautifully.
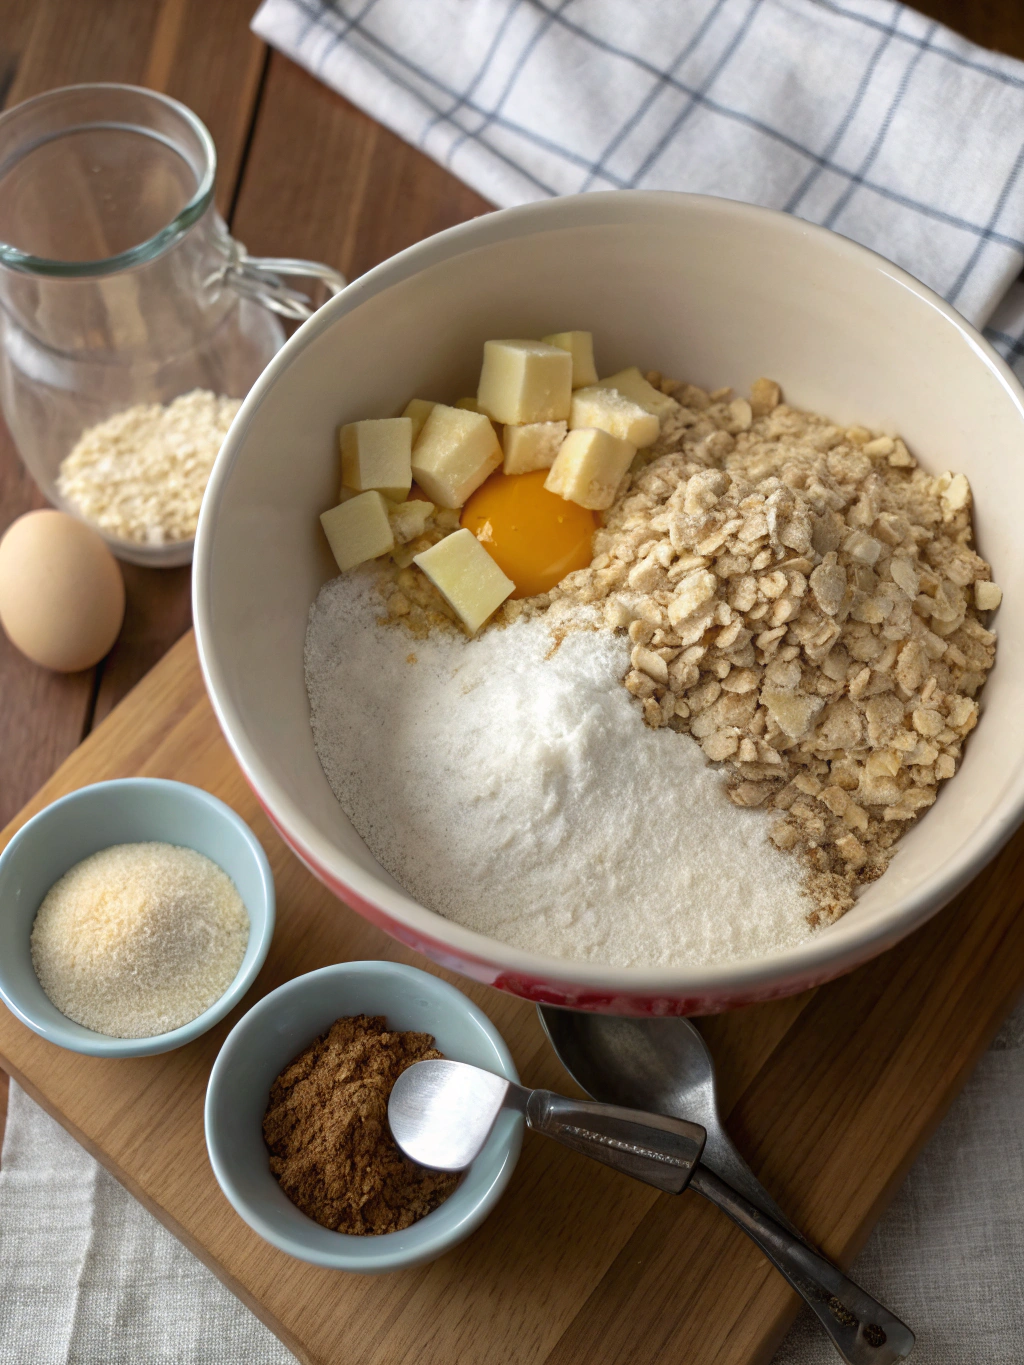
Step 5: Create the Perfect Dough
Gradually add the dry ingredients to the wet mixture, mixing on low speed until just combined. Overmixing develops gluten, resulting in tough cookies. When the flour is almost incorporated, add the oats, and if using, the raisins and nuts. Fold gently until evenly distributed.
Step 6: The Secret Chill
Cover the dough and refrigerate for 30 minutes. This is Secret #1 for chewy perfection! Chilling solidifies the butter, preventing excessive spreading during baking. It also allows the oats to absorb moisture, enhancing the final texture dramatically.
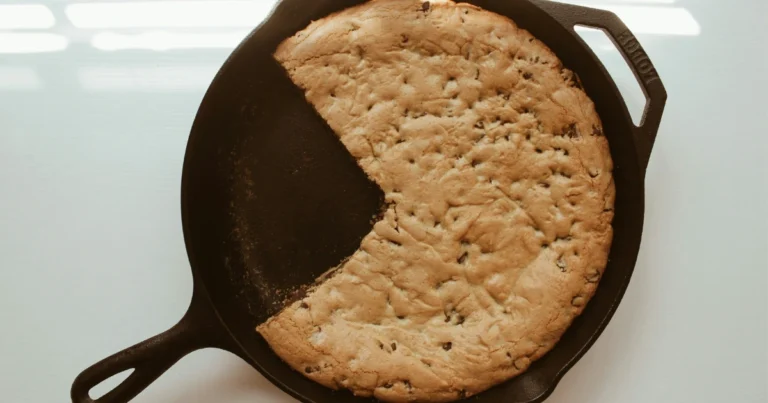
Step 7: Bake to Chewy Perfection
Preheat your oven to 350°F (175°C). Line baking sheets with parchment paper. Scoop rounded tablespoons of dough (or use a cookie scoop for consistency) and place 2 inches apart on prepared sheets. Bake for 10-12 minutes until edges are golden but centers still look slightly underdone.
Step 8: The Cooling Technique
Here’s Secret #2: Let cookies rest on the hot baking sheet for exactly 5 minutes before transferring to a cooling rack. This allows them to finish cooking from residual heat while setting up with the perfect chewy texture. Moving them too soon or too late can affect the final consistency.
Nutritional Information
Understanding the nutritional content helps you enjoy these treats mindfully. Each cookie (based on a yield of 36 cookies) contains approximately:
• Calories: 130 per cookie
• Fat: 6g (Saturated Fat: 3g)
• Carbohydrates: 18g
• Fiber: 1g
• Protein: 2g
• Sugar: 10g
• Sodium: 70mg
Oats provide beneficial soluble fiber, which studies show can help manage cholesterol levels. The walnuts (if included) add heart-healthy omega-3 fatty acids. While these cookies are a treat, they offer more nutritional benefits than many other desserts.
Healthier Alternatives for the Recipe
- Secret #3 is knowing how to make these cookies more nutritious without sacrificing taste. Try these modifications:
- Replace half the all-purpose flour with whole wheat flour to increase fiber content. Research shows this simple swap adds 4g of fiber per cup while maintaining a tender texture.
- Reduce sugar by 25% and add an extra teaspoon of cinnamon to enhance perceived sweetness. Studies indicate cinnamon helps regulate blood sugar levels, making this a win-win adjustment.
- Add 2 tablespoons of ground flaxseed for omega-3 fatty acids and additional fiber. The nutty flavor complements the oats perfectly while boosting nutritional value.
- Replace half the butter with unsweetened applesauce to reduce fat and calories. This keeps the cookies moist while cutting approximately 50 calories per serving.
Serving Suggestions
- Secret #4 involves elevating your cookie experience with these serving ideas:
- Create an oatmeal cookie sandwich by spreading a thin layer of cream cheese between two cookies. For a seasonal twist, add a dash of pumpkin spice to the cream cheese in fall months.
- Crumble warm cookies over vanilla ice cream and drizzle with caramel sauce for a quick, impressive dessert. The contrast between warm cookie and cold ice cream creates a sensory delight.
- Serve alongside a fruit and cheese board for an unexpected sweet element at gatherings. The oats and cinnamon complement aged cheeses surprisingly well.
- Pair with a glass of cold milk, hot tea, or coffee for the classic experience. The slight bitterness of coffee particularly enhances the sweet, spiced notes in the cookies.
Common Mistakes to Avoid
Secret #5 is knowing the pitfalls that can ruin your quaker oatmeal cookie recipe:
- Using quick oats instead of old-fashioned oats. Quick oats absorb more moisture and create a denser, less chewy cookie. Old-fashioned oats maintain their texture and create that classic cookie structure.
- Skipping the chilling step. Data shows cookies made with chilled dough spread 25% less during baking, resulting in thicker, chewier cookies.
- Overbaking. Remove cookies when the edges are golden but centers still look slightly underdone. They’ll continue cooking on the hot baking sheet.
- Using cold butter. Properly softened butter incorporates air when creamed with sugar, creating essential structure. Cold butter results in dense, flat cookies.
- Measuring flour incorrectly. Spoon flour into measuring cups and level off rather than scooping directly from the bag, which can pack in 25% more flour than needed.
Storing Tips for the Recipe
- Secret #6 is mastering storage techniques to maintain freshness:
- Store baked cookies in an airtight container at room temperature with a slice of bread. The bread keeps cookies soft for up to 5 days by releasing moisture as it dries out. Replace the bread slice when it becomes hard.
- For longer storage, freeze baked cookies in a single layer until solid, then transfer to a freezer bag. They’ll maintain quality for up to 3 months. Thaw at room temperature for 30 minutes before serving.
- Secret #7: Freeze portioned cookie dough for fresh-baked cookies anytime. Scoop dough onto a parchment-lined tray, freeze until solid, then transfer to a freezer bag. Bake from frozen, adding 2-3 minutes to the baking time.
- For gifting, layer cookies between parchment paper in a decorative tin. Add a note suggesting recipients warm cookies for 10 seconds in the microwave before eating for that fresh-baked experience.
Conclusion
This enhanced quaker oatmeal cookie recipe transforms a classic treat into something truly exceptional. By incorporating our seven secrets – from the critical 30-minute chill time to the perfect cooling technique – you’re guaranteed cookies with that elusive chewy texture that keeps everyone coming back for more.
The beauty of this recipe lies in its versatility. Whether you follow it exactly or incorporate some of our healthier alternatives, you’ll create memorable cookies that stand out from the ordinary.
Have you tried this recipe? I’d love to hear how these secrets worked for you! Share your experience in the comments, or tag us in your cookie photos on social media. And if you’re looking for more baking inspiration, be sure to subscribe to our newsletter for weekly recipes and tips delivered straight to your inbox.
Did You Try Our Recipe?
There are no reviews yet. Be the first one to write one.