How to Make a Cloud Cake Recipe: 7 Fluffy Steps to Heaven
Have you ever wondered how some cakes manage to taste like a bite of heaven, so light they seem to float on your fork? The secret lies in mastering the perfect cloud cake recipe – a dessert so airy and delicate it lives up to its celestial name. Unlike traditional dense cakes, this ethereal treat defies gravity with its pillowy texture.
Creating your own cloud cake recipe might seem intimidating at first, but I’m here to guide you through each step of this magical baking journey. This delightful dessert combines the lightness of meringue with the richness of traditional cake for a truly unforgettable experience.
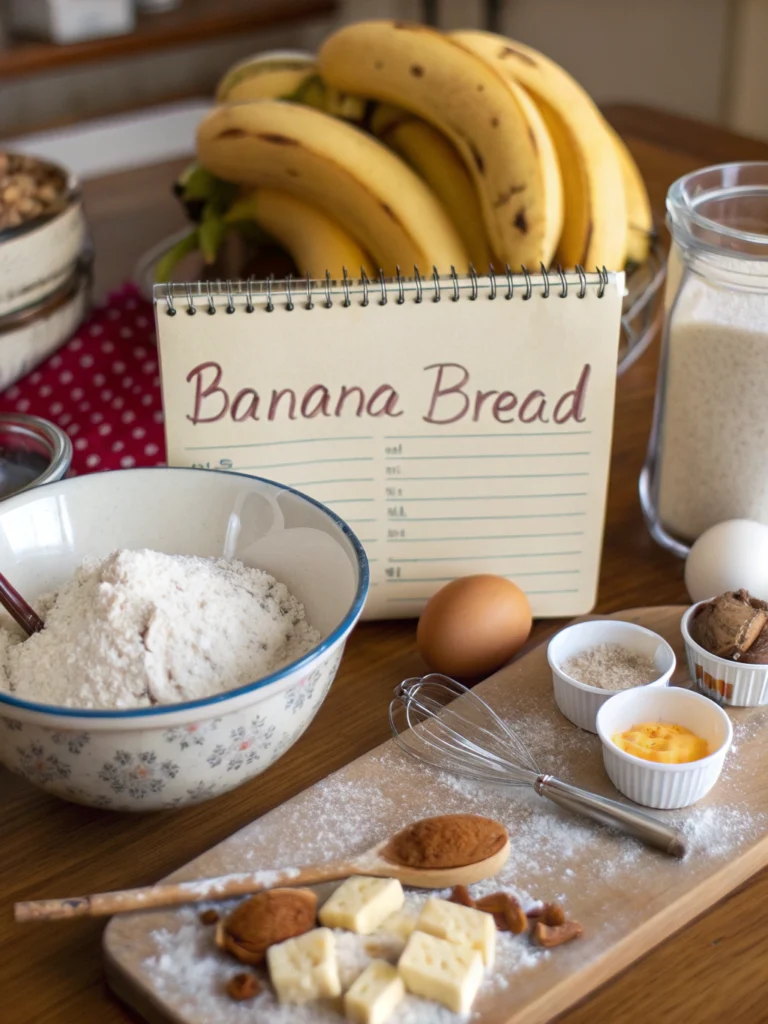
Ingredients List
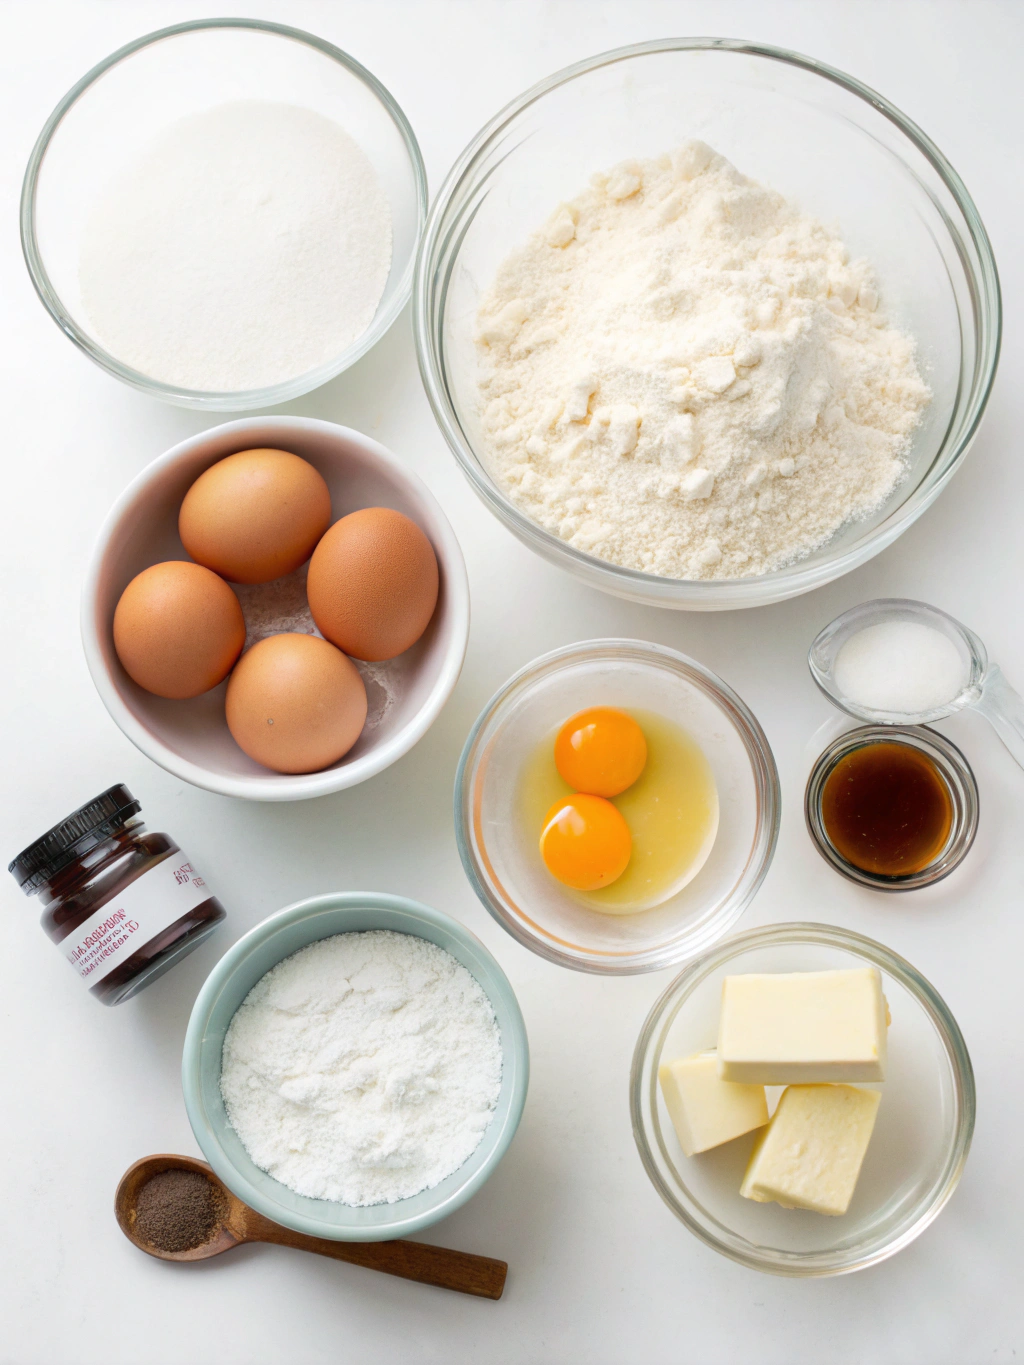
The secret to a perfect cloud cake lies in quality ingredients and precise measurements. Gather these components before starting your baking adventure:
- 8 large eggs, separated (room temperature for best volume)
- 1 cup granulated sugar, divided (3/4 cup for whites, 1/4 cup for yolks)
- 1 teaspoon vanilla extract (or substitute with 1/2 teaspoon almond extract for variation)
- 1/4 teaspoon cream of tartar (helps stabilize egg whites; substitute with 1/2 teaspoon lemon juice if needed)
- 1 cup cake flour, sifted (substitute with 7/8 cup all-purpose flour + 2 tablespoons cornstarch)
- 1/4 teaspoon salt
- 2 tablespoons lemon zest (optional for citrus variation)
- 1 cup heavy whipping cream (for frosting)
- 3 tablespoons powdered sugar (for frosting)
- Fresh berries for garnish (strawberries, blueberries, or raspberries work beautifully)
Timing
- Preparation Time: 30 minutes to separate eggs, measure ingredients, and prepare your workspace – this is about 15% less than most layer cakes that require more complex batters.
- Baking Time: 35-40 minutes, watching carefully as this delicate creation can overbake quickly. The low, slow bake is essential for maintaining the cloud-like texture.
- Cooling Time: 60 minutes minimum – patience is crucial! Rushing this step can cause your cake to collapse.
- Total Time: Approximately 2 hours and 10 minutes from start to finish, including decoration. This investment yields dividends in texture that simply can’t be rushed.
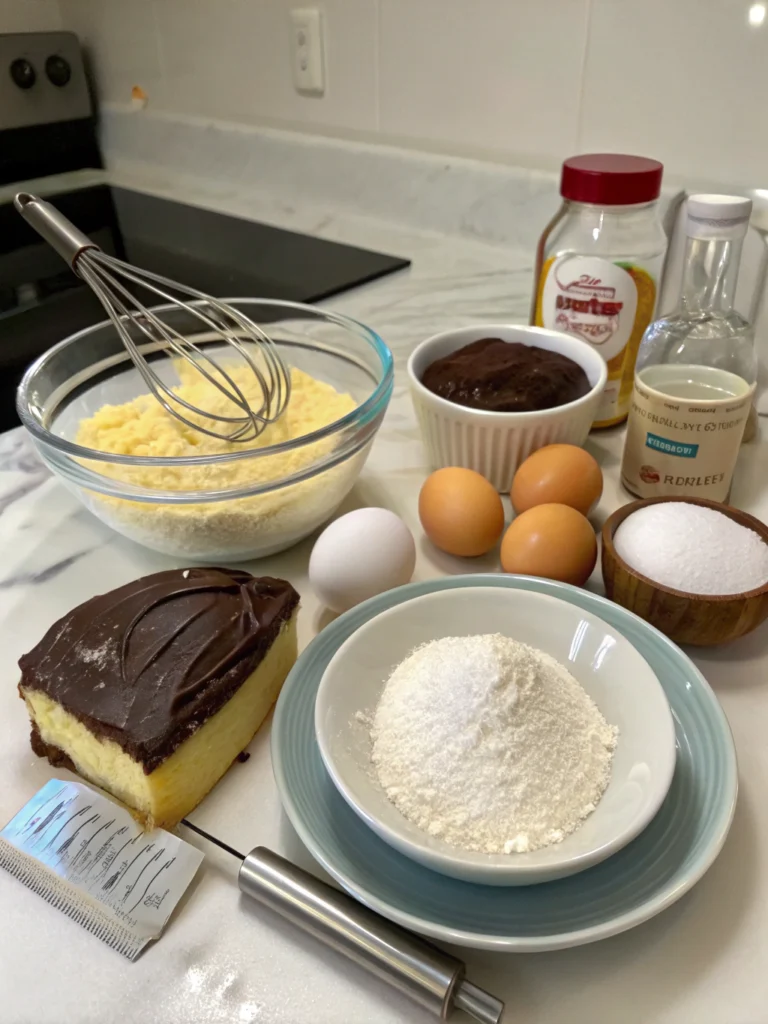
Step-by-Step Instructions
Follow these carefully crafted steps to create your perfect cloud cake. Each stage builds on the previous one to create that signature ethereal texture.
Step 1: Preparation is Key
Preheat your oven to 325°F (165°C). This lower temperature is crucial for the gentle baking needed. Position the rack in the center of your oven for even heat distribution.
Prepare a 10-inch tube pan or angel food cake pan by leaving it completely ungreased. The batter needs to cling to the sides to achieve maximum height. If using a removable-bottom pan, place parchment on the bottom only.
Step 2: Perfect Separation
Separate your eggs with extreme care, ensuring not even a speck of yolk contaminates the whites. Even the smallest amount of fat can prevent proper whipping. Use three bowls: one for whites, one for yolks, and one to separate each egg individually before transferring.
Allow separated eggs to sit at room temperature for 30 minutes. This seemingly small detail increases volume by up to 25% compared to cold eggs.
Step 3: Create Cloud-Like Whites
In a large, clean mixing bowl, beat egg whites until foamy. Add cream of tartar and continue beating until soft peaks form. The cream of tartar stabilizes the whites, preventing weeping later.
Gradually add 3/4 cup sugar, one tablespoon at a time, while beating constantly. Continue until stiff, glossy peaks form – the whites should stand up straight when the beater is lifted.
Step 4: Enrich the Yolks
In a separate bowl, beat egg yolks with remaining 1/4 cup sugar until pale yellow and thickened – about 3-4 minutes. The mixture should fall in ribbons from the beater. Add vanilla extract and lemon zest (if using).
This enriched yolk mixture provides the flavor foundation while the whites contribute the signature texture of your cloud cake recipe.
Step 5: Gentle Incorporation
Sift the cake flour and salt together three times – this isn’t excessive but essential for the lightest texture. Gently fold flour mixture into the egg yolk mixture using a rubber spatula.
Gradually fold the yolk mixture into the beaten egg whites using a large, gentle figure-eight motion. Take your time with this step – rushing can deflate the air you’ve worked so hard to incorporate.
Step 6: Baking with Care
Pour the batter into your ungreased tube pan, smoothing the top gently. Run a knife through the batter to eliminate large air pockets that could create tunnels during baking.
Bake for 35-40 minutes until the top springs back when lightly touched and a toothpick inserted comes out clean. Resist opening the oven during the first 30 minutes of baking.
Step 7: The Critical Cool
Immediately invert the pan over a bottle neck or onto cooling rack with feet if your pan has them. This prevents the cake from collapsing as it cools. Allow to cool completely – at least 1 hour.
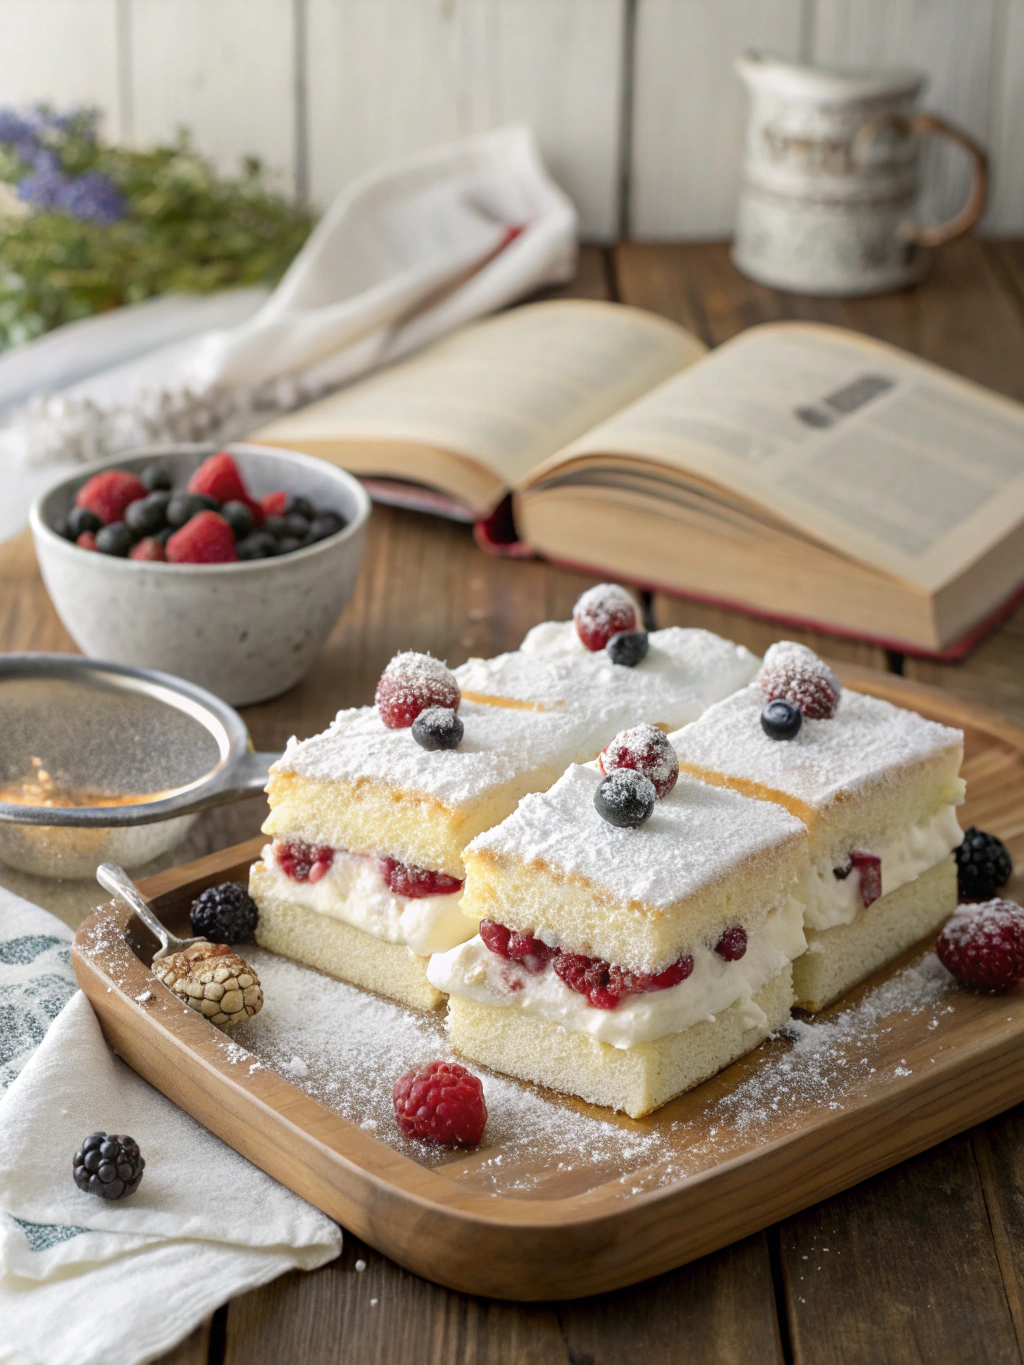
Once cooled, run a thin knife around the edges to release. Whip cream with powdered sugar until soft peaks form, then frost the cake and decorate with fresh berries.
Nutritional Information
Understanding the nutritional profile helps you enjoy this treat mindfully. Each serving (1/12 of cake) contains approximately:
• Calories: 215 per slice (about 30% fewer than traditional frosted cakes)
• Protein: 6g (primarily from eggs, making this cake more satiating than most desserts)
• Carbohydrates: 28g (including 18g sugars)
• Fat: 9g (5g saturated)
• Cholesterol: 155mg
• Sodium: 120mg
• Fiber: 0.5g
The high egg content provides quality protein, while the reduced flour makes this a lighter option than most cakes. The whipped cream topping adds fewer calories than traditional buttercream, which typically contains 100+ more calories per serving.
Healthier Alternatives for the Recipe
Transform this heavenly treat into a more nutritious option with these smart substitutions:
Replace half the granulated sugar with monk fruit sweetener or erythritol to reduce calories by approximately 30% without sacrificing texture. The natural sweetness complements the delicate flavor profile perfectly.
For a dairy-free version, substitute the whipped cream topping with coconut cream whipped with a tablespoon of maple syrup. Chill the coconut cream overnight first for best results.
Add 1/4 cup of finely ground nuts (almonds work beautifully) to the flour for added protein, healthy fats, and a subtle nutty dimension that enhances the overall flavor complexity.
Serving Suggestions
Elevate your cloud cake recipe with these inspired serving ideas:
Create a stunning dessert table centerpiece by placing the cake on a pedestal surrounded by edible flowers and additional berries. The height emphasizes the cake’s impressive volume and airy nature.
For a sophisticated brunch option, serve thin slices with a side of lemon curd and prosecco. The bright acidity cuts through the sweetness for a balanced flavor experience.
Transform leftovers into an elegant trifle by cutting into cubes and layering with additional whipped cream, fruit compote, and a splash of liqueur for an adults-only variation.
Common Mistakes to Avoid
- Greasing the pan: This prevents the batter from climbing the sides and achieving maximum height. Your ungreased pan is essential for proper structure.
- Overbeating the egg whites: If they look dry or chunky, you’ve gone too far. Stop at glossy, stiff peaks that hold their shape without looking grainy.
- Rushing the folding process: Hurried incorporation deflates the air bubbles that create the signature texture. Use at least 40-50 gentle folding motions.
- Opening the oven door too early: This causes temperature fluctuations that can collapse your rising cake. Resist peeking until at least 30 minutes have passed.
- Skipping the inverted cooling: Gravity helps maintain the cake’s structure as it cools. Without this step, your cake may sink dramatically in the center.
Storing Tips for the Recipe
Preserve the cloud-like texture of your masterpiece with these storage strategies:
Store unfrosted cloud cake at room temperature under a cake dome for up to 2 days. The slight air circulation prevents moisture buildup while protecting the delicate texture.
If frosted with whipped cream, refrigerate for up to 3 days, but bring to room temperature for 20 minutes before serving to restore the ethereal texture that gives this dessert its name.
For longer storage, freeze individual unfrosted slices wrapped in plastic and then foil. Thaw at room temperature for 1-2 hours before serving. Avoid microwaving, which can toughen the delicate structure.
Conclusion
Mastering this heavenly cloud cake recipe opens the door to a world of light, airy desserts that will impress even the most discerning guests. The careful technique and quality ingredients combine to create something truly special – a cake that feels like biting into a sweet, vanilla-scented cloud.
Have you tried making this ethereal dessert? I’d love to hear about your cloud cake adventures in the comments below! Share your photos, variations, or questions – and if you’re looking for more delightful desserts that defy gravity, subscribe to our newsletter for weekly inspiration delivered straight to your inbox.
Did You Try Our Recipe?
There are no reviews yet. Be the first one to write one.