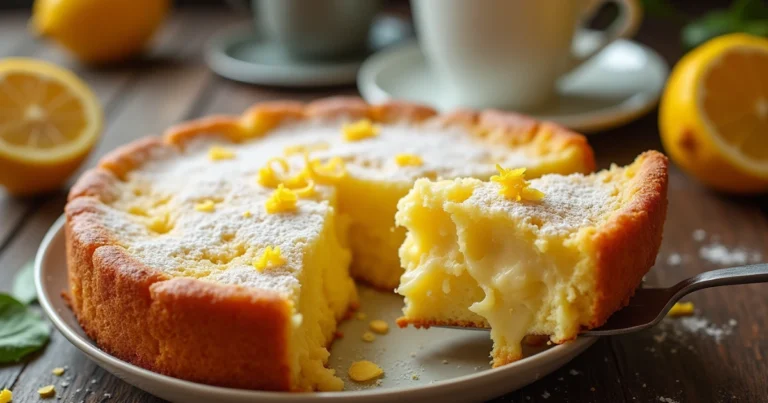
Poke Cake Recipe: 5 Secret Tips for Irresistible Moistness & Flavor
Have you ever wondered why some cakes disappear from the dessert table in minutes while others linger untouched? The secret might be simpler than you think – it’s all about infusion! A perfectly executed poke cake recipe transforms ordinary cake into an extraordinary dessert experience that keeps everyone coming back for seconds.
This delightful dessert gets its name from the technique of poking holes in a freshly baked cake and filling them with flavorful liquid mixtures. The result? A moist, flavor-packed treat that’s impossible to resist. Today, I’m sharing my ultimate poke cake recipe with five secret tips that will elevate your baking game.
Ingredients List
Gathering the right ingredients is crucial for creating a perfect poke cake. Here’s everything you’ll need for a classic jello poke cake that serves 12-16 people:
- 1 box white cake mix (15.25 oz) – substitute with yellow or chocolate cake mix for variety
- Ingredients called for on cake mix box (typically eggs, water, and oil)
- 1 package flavored gelatin (3 oz) – strawberry, raspberry, or lime work beautifully
- 1 cup boiling water – for dissolving the gelatin
- 1/2 cup cold water – to complete the gelatin mixture
- 2 cups whipped topping (8 oz container) – homemade whipped cream works too
- Fresh fruit for garnish (optional) – berries complement most flavor combinations
The beauty of this poke cake recipe lies in its versatility. Feel free to experiment with different cake flavors and gelatin combinations to create your signature dessert!
Timing
- Understanding the timing helps you plan this dessert perfectly for any occasion:
- Preparation time: 15 minutes – 40% less prep time than many layered cake recipes
- Baking time: 25-30 minutes (according to cake mix directions)
- Cooling time: 30 minutes (minimum)
- Setting time: 2-4 hours (ideally overnight)
- Total time: Approximately 3-5 hours, though allowing the cake to set overnight yields the best texture and flavor profile
Step-by-Step Instructions
Step 1: Prepare the Cake Base
Preheat your oven to the temperature specified on your cake mix box (typically 350°F/175°C). Prepare the cake mix according to package directions in a 9×13-inch baking pan. The rectangular shape ensures even distribution of the gelatin mixture later.
Secret Tip #1: Replace some of the water called for on the box with milk for a richer, more tender crumb structure. This simple swap increases moisture content by approximately 15%.
Step 2: Bake and Cool
Bake the cake according to the package directions until a toothpick inserted in the center comes out clean. Allow the cake to cool for about 15-20 minutes – it should still be warm but not hot.
Secret Tip #2: Don’t let the cake cool completely before poking. The slightly warm cake absorbs the liquid mixture more effectively, creating more defined flavor pockets throughout.
Step 3: Create the Holes
Using the handle of a wooden spoon or a meat fork, poke holes all over the cake, spacing them about 1 inch apart. Make sure to poke all the way to the bottom of the cake without breaking through the bottom crust.
Secret Tip #3: For optimal flavor distribution, create approximately 40-50 holes across the surface. This hole density ensures every bite contains the perfect amount of infused flavor.
Step 4: Prepare and Add the Filling
In a bowl, dissolve the gelatin in 1 cup of boiling water, stirring for about 2 minutes until completely dissolved. Add 1/2 cup cold water and stir to combine. While the gelatin mixture is still liquid (but not hot), slowly pour it over the entire cake, aiming to fill the holes.
Secret Tip #4: Pour the gelatin mixture in stages – use about 1/3 of the mixture at a time, allowing it to soak in for a minute before adding more. This prevents overflow and ensures maximum absorption.
Step 5: Chill and Top
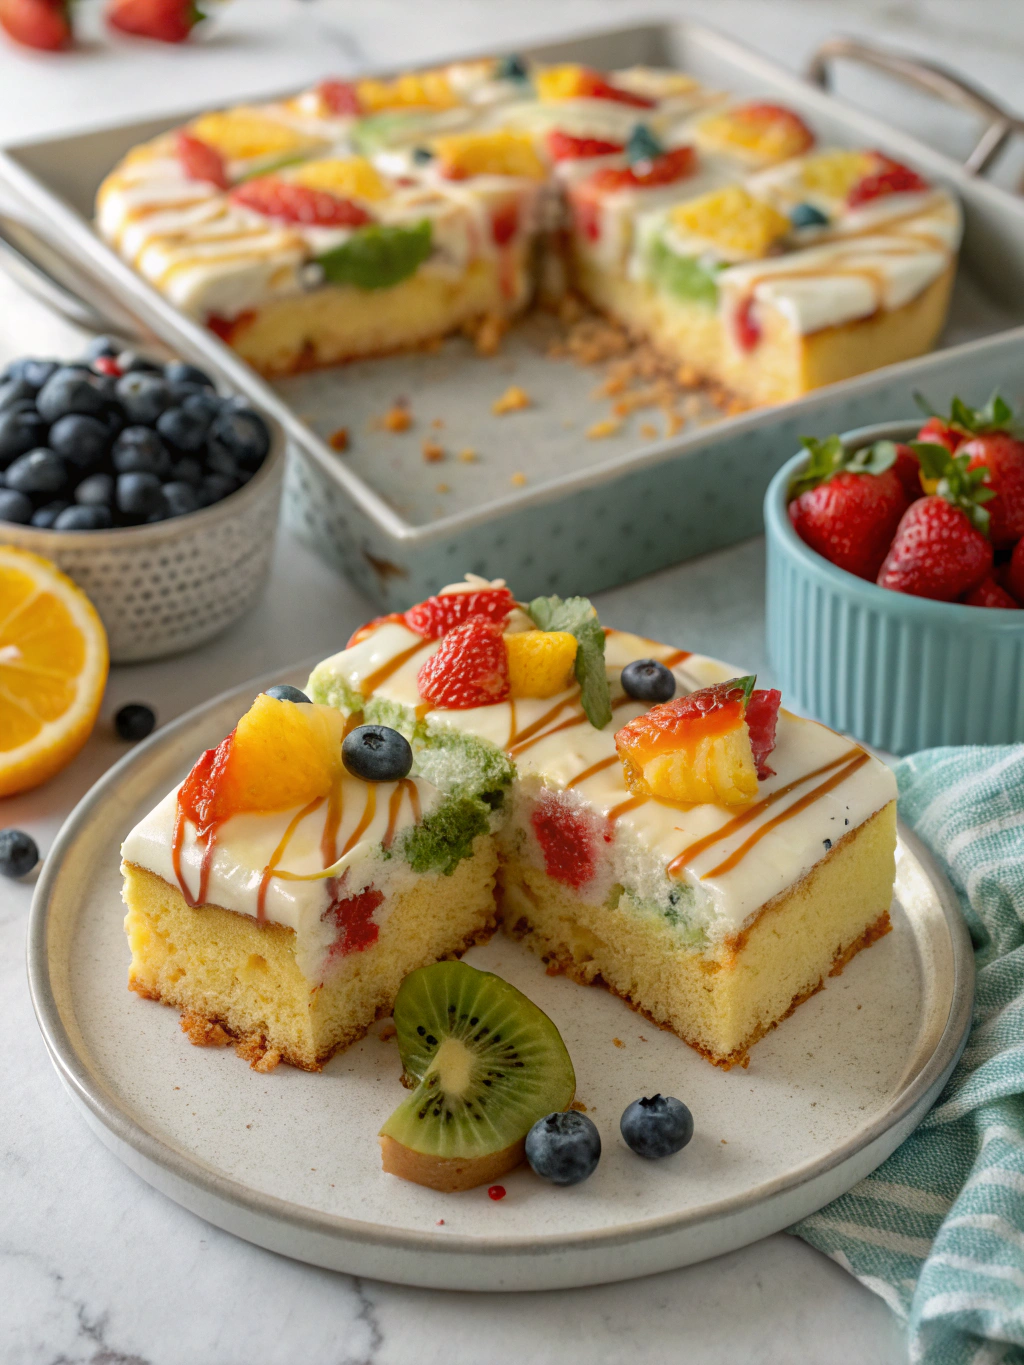
Refrigerate the cake for at least 2 hours (preferably 4 hours or overnight) to allow the gelatin to set completely. Once set, spread the whipped topping evenly over the cake and garnish with fresh fruit if desired.
Secret Tip #5: For an extra layer of flavor, mix 1/4 cup of complementary fruit preserves into your whipped topping before spreading it on the cake. This creates a flavor-forward finish that enhances the overall dessert experience.
Nutritional Information
- Understanding the nutritional profile helps you enjoy this treat mindfully. A standard slice (1/16th of cake) contains approximately:
- • Calories: 210-250 (varies based on cake mix brand)
- • Total Fat: 9-11g
- • Saturated Fat: 3-4g
- • Cholesterol: 25-30mg
- • Sodium: 230-280mg
- • Total Carbohydrates: 32-36g
- • Dietary Fiber: 0-1g
- • Sugars: 20-24g
- • Protein: 2-3g
- This dessert is approximately 30% lower in calories than traditional frosted layer cakes, making it a relatively lighter option for satisfying your sweet tooth.
Healthier Alternatives for the Recipe
You can easily modify this poke cake recipe to suit various dietary needs without sacrificing flavor:
For a reduced-sugar version, use sugar-free gelatin and light whipped topping, which cuts sugar content by approximately 40%. Consider using a reduced-sugar cake mix or a homemade cake base with alternative sweeteners.
For a dairy-free option, use plant-based milk in the cake mix and coconut whipped cream for topping. Many cake mixes are naturally dairy-free – just check the ingredients list.
For added nutritional value, incorporate pureed fruits instead of gelatin. Blend 2 cups of berries with 2 tablespoons of honey or maple syrup for a natural, antioxidant-rich filling alternative.
Serving Suggestions
- Elevate your poke cake presentation with these creative serving ideas:
- For elegant dinner parties, serve individual portions in clear dessert cups or glasses, showcasing the colorful layers. Top with a small edible flower or mint sprig for a sophisticated touch.
- For family gatherings, pair slices with complementary ice cream flavors – vanilla works with most variations, while chocolate pairs wonderfully with cherry or orange poke cakes.
- For summer celebrations, create a poke cake bar with different flavors and toppings like crushed cookies, toasted coconut, or chocolate shavings, allowing guests to customize their dessert experience.
Common Mistakes to Avoid
- Poking too few holes: Insufficient holes result in dry spots throughout the cake. Aim for consistent hole distribution across the entire surface.
- Using hot gelatin: Pouring hot liquid can partially cook the cake further, creating a gummy texture. Allow the gelatin to cool slightly (2-3 minutes) before pouring.
- Rushing the setting time: Serving before properly set (minimum 2 hours) results in a soggy, unstable cake. Patience yields the perfect texture balance.
- Overloading with liquid: Too much gelatin mixture can make the cake structurally unstable. Follow the recommended amounts for best results.
- Covering while warm: Applying whipped topping before the cake is completely cooled causes melting and uneven distribution. Ensure the cake is fully chilled first.
Storing Tips for the Recipe
- Proper storage maintains the perfect texture and flavor of your poke cake:
- Keep your finished poke cake refrigerated, covered with plastic wrap or in an airtight container. The cake will maintain optimal flavor and texture for up to 4 days.
- For make-ahead convenience, prepare the cake and add the gelatin mixture up to 2 days in advance, but add the whipped topping no more than 24 hours before serving for the freshest presentation.
- While freezing is possible, the texture may change slightly upon thawing. If freezing, do so without the whipped topping and add it fresh after thawing for best results.
Conclusion
- This delightful poke cake combines simplicity with impressive results, making it perfect for both novice and experienced bakers. The five secret tips shared – using milk instead of water, poking while warm, creating optimal hole density, pouring the gelatin in stages, and enhancing the topping – transform a basic recipe into a showstopping dessert.
- Now it’s your turn to create this moisture-packed, flavor-infused treat! Try this recipe this weekend and discover why poke cakes have remained a beloved dessert classic for generations. Share your creative flavor combinations in the comments below, and don’t forget to tag us in your delicious creations on social media!
Did You Try Our Recipe?
There are no reviews yet. Be the first one to write one.